Checklist for Buying a Used Motorcycle [Video]

Posted By
Clint Lawrence, founder of Motorcycle Shippers. Helping give riders more freedom to enjoy the bikes they love. [email protected]
Inspection Checklist for Buying a Used Motorcycle

Buying a used bike can seem like an overwhelming experience to a first-time buyer. What do I look for? What do I need to ask? How do I know I’m not buying a lemon? At Motorcycle Shippers we deal with buyers and sellers every day, and our background in the motorcycle industry makes us more knowledgeable than most when it comes to getting a good deal on a used bike. The following will touch on some of the basic things a new rider (and even an experienced rider) should look for when buying a used motorcycle.
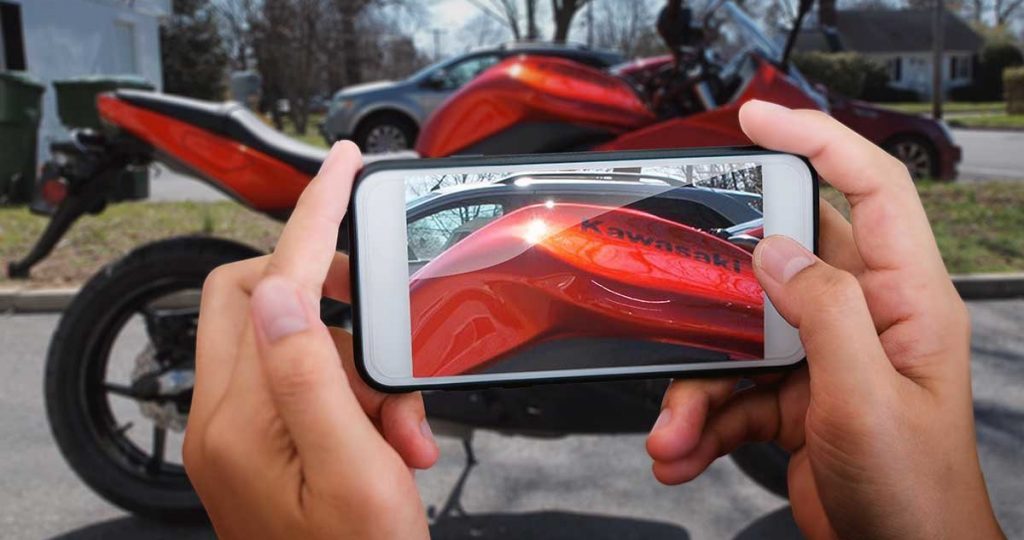
Let’s start cold. You’re walking up to the bike for the first time. What is your first reaction? Man, look at that bike shine! This is exactly what you want to see. Pride of ownership is reflected in the appearance. Most riders take extremely good care of their bike’s exterior. You want to look good right? Let’s look a little closer.
A clean bike is usually a happy bike. It is important that the seller places high importance on communication with you, divulging all the details of the bike. You may be interested in an older “project or restoration” bike and will be willing to overlook some flaws in the finish. You may be looking at a “brush popper” and a slightly rough look is to be expected. Only you know what is cosmetically acceptable.
Look the bike over carefully. It’s easy to tell the difference between a bike that’s just been “quick cleaned” for a sale and one that’s been garage kept and pampered by a true enthusiast. Check all the tight spots. You know the hard-to-reach places where dirt can accumulate. The enthusiast will take the time to get into these areas and keep his bike looking showroom. The “quick cleaner” will not. He’s hoping that your excitement will override your common sense and you won’t be looking too closely.
Pro Tip: If the bike has plastic fairings, check the “tabs” that connect them to the frame. The first thing to break when a bike has crashed is usually these connection points, and shoddy repair attempts can be easily spotted.
Let’s check out the exhaust first. I know you want to start the bike up and hear it roar. There’s plenty of time for that later. You want the bike cold for the initial inspection. Warm engines turn over easier. In fact, when you call the seller to ask him where to come to see the bike, make sure to tell him not to run it before you get there. Here’s why. First, you want to make sure the exhaust is solidly mounted. The exhaust system gets a lot of vibration from the engine, which can cause the mounts and the pipe to fail. Places on the exhaust that you may not have a clear view of you may feel areas of corrosion that have actually rotted through. You would probably hear exhaust leaks when you first start the bike so now you know to listen for them.
Pro Tip: Dents in the exhaust header can cause performance issues. Be sure to inspect it from underneath. You may have to lie on your back.
As long as you’re down there checking on the exhaust, you might as well give the frame the once-over. Look closely. You’re looking for dents, scrapes, and cracks. Is there any indication the bike has bottomed out, taken a hard landing, or been in some kind of accident? Get hands-on with the frame too. Slide your hands over as much of the frame as you can. You may feel something you can’t see.
Check the steering head bearings. While holding the front brake lever, rock the bike back and forth. If you feel movement or hear a clicking sound, it’s a good indication that the bearings in the steering head might be loose or worn. Place your hand over the upper triple clamp and frame to feel the movement.
Pro Tip: Check the steering stops on the neck of the frame. This is the metal stop that meets the tabs on the lower steering stem to stop the handlebars from turning. If you see that the metal is bent, bulging, or excessively rusty, this can be an indication that the bike was involved in a crash.
A little slack in the clutch cable is normal and any excess can usually be adjusted out. Squeeze the clutch in. Is it smooth? Release the clutch slowly. It should release smoothly. You should not feel any “snags” or “pops” as the clutch lever is engaged or released. Have a seat on the bike. Engage the clutch. The bike should roll smoothly with little resistance while in first gear with the clutch engaged.
Pro Tip: The clutch lever should have some free play before it engages, if not there is a higher chance of excessive wear on the clutch.
While sitting on the bike, take it out of gear and roll it forward. Gently apply the front brakes. The brake lever should operate smoothly and the bike should slow to a stop with little to no noise from the brakes. Release the brake lever. It should return smoothly into position and the bike should now roll freely with no dragging of the brake calipers. If they drag, they need work. While braking at speed you should not feel any pulsing in the lever as this would indicate a bent rotor.
Pro Tip: Bring a set of measuring calipers with you and measure the thickness of the rotors at the center. Each rotor is stamped with a minimum thickness.
While straddling the bike, shove down on the front end. The forks should return to position slowly and almost silently. Any loud noise can be bad news. Look at the fork seals. They should be clean and smooth. There should be no fork oil on the tops of the seals or on the forks. If there is a bit of oil around the fork seals the bike may just need new seals which are relatively affordable. But if there are nicks or rust on the fork tubes a more serious repair is needed. The forks themselves should be clean, shiny, and smooth. Bounce up and down on the seat. The rear shock(s) should offer some resistance and return the rear end to its normal position without springing up and down.
Pro Tip: Run your fingers up and down the fork tube. If you feel any bumps it is most likely rust. If you feel a crease, it means the fork has been bent at one time, most likely the result of an accident.

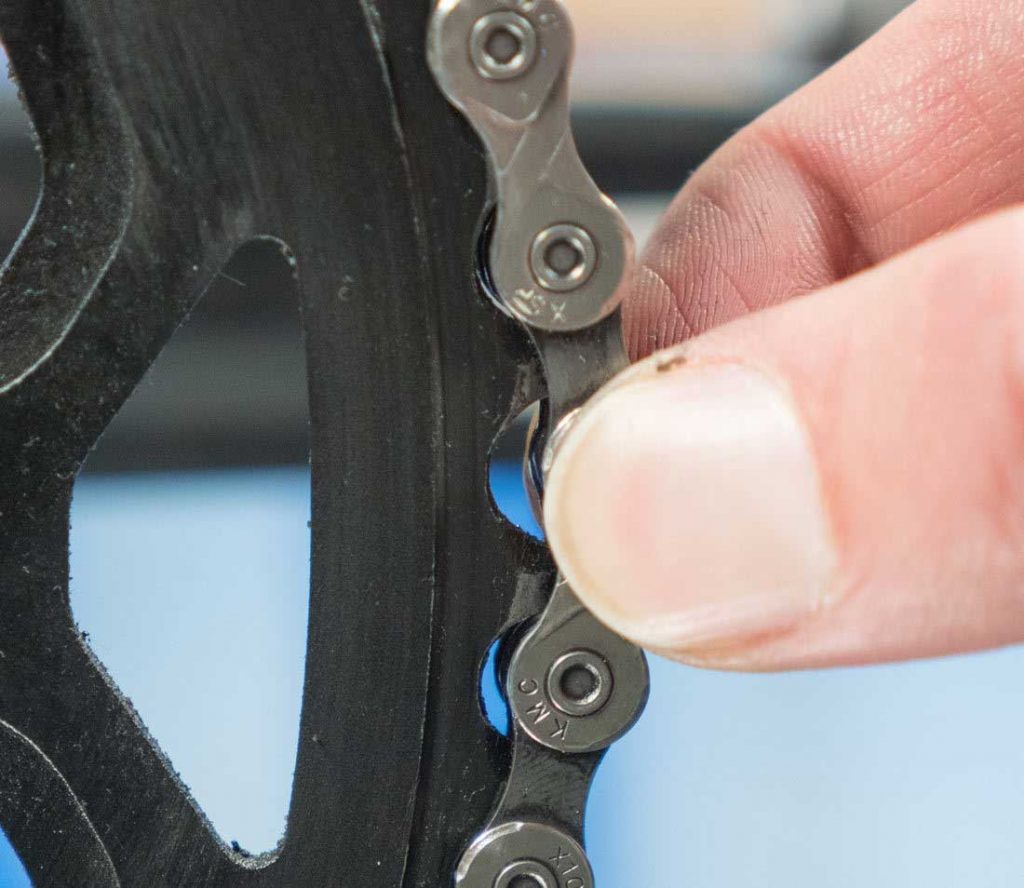
Check the tension of the drive chain by pulling it away from the rear sprocket at the three o’clock position. You should not be able to pull it farther than about halfway off the sprocket tooth. Any farther and it’s time to replace. The inner area of the chain that contacts the sprocket should be clean, smooth, and shiny.
Other things to look out for are links that are binding or kinked. This will cause tight spots in the chain and subsequently enhance excessive wear on the drive train. If you can put the bike on a stand and spin the rear wheel you can easily see if the chain maintains the same tension as it turns. In addition, keep your eyes out for excessive rust. Small amounts can be easily removed but large amounts can mean it’s time for a new chain.
Check the sprockets closely. Look for sprocket teeth that are hooked, pointed, or chipped.
Pro Tip: If the teeth on the sprocket are leaning over, both the sprocket and the chain have excessive wear and should be replaced.
Smooth even wear should be expected and is no cause to worry. Severe wear on the center third of the rear tire could be an indicator of long-distance freeway riding or performing “burnouts”. The latter is definitely not good for the tire but also causes unnecessary abuse on the engine. Excessive hard braking and skidding can cause flat spots on the tire.
Check the 4-digit DOT numbers on the outer sidewall of the tires. The first two digits indicate the week the tire was manufactured, the second two digits indicate the year. Most recommend replacing tires when they are 6 years old, even if they appear to be in good condition.
Inspect the wheels for dents. If possible, place the bike on the center stand with the transmission in neutral and spin the back wheel. Watch it from both the side and the rear to identify dings or bends in the wheel. The same can be done with the front wheel using the kickstand and some help from another person.
Pro Tip: Cupping is a natural wear pattern on motorcycle tires. It is not a sign of bad tires or suspension parts. It simply shows that the tire is gripping the road (thank you Mr. Tire!). This cupping develops on the sides of a tire. The forces that come into play when the motorcycle is leaning while turning are what produce the effect. When the tire becomes quite worn, the rider will experience vibration and noise when leaning into a turn. The softer compound tires tend to cup sooner.
Open the fuel cap and look inside. You may want to bring a flashlight with you. You should be looking through a light amber-colored fuel and clearly see the bare metal interior of the fuel tank. If the fuel is dark it’s probably old and should be drained and replaced. You’ll also want to flush the system and change the filter just to be safe.
When inspecting the fuel tank you want to look for rust or any grit or sediment in the tank. If you’re not sure if you’re seeing sediment, rock the bike gently from side to side and set up a small “wave motion”. If there’s sediment you’ll see it shift from side to side. If the tank is full be careful not to overdo it. You want to keep the fuel in the tank.
Pro Tip: Some fuel tanks may have a coating applied to them to prevent or even cover old rust. In this case, you will not see a shiny silver surface but more likely a light milky surface.
The normal appearance of coolant is neon green and should smell sweet. With the engine cold, remove the coolant cap and take a look. Green is great. Brown-colored coolant could mean either rust or oil has invaded the engine. If the engine has begun to rust, you will want to consider some costly repairs in the future. If you have oil in your coolant you may have a leaking head gasket or failed O-rings. O-ring repair is not a death warrant for a bike but fixing a head gasket is a job for an expert “gearhead”, so you may want to reconsider your purchase if this condition exists.
Pro Tip: Removing the radiator cap (cold engine only) will quickly tell you if you have any oil in your system. Since oil is lighter than water most of the oil in your cooling system will float to the top of your radiator. If you see an oil slick floating on your coolant there could be engine problems.
If the bike has a sight glass on the side of the engine you can see immediately the color of the oil. If the sight glass is discolored or brownish, the oil may have begun to “varnish” the engine interior. This is caused by not keeping up with frequent oil changes.
If there is no sight glass, use a stick, cloth, paper towel, or other such item and dip it into the oil via the filler cap. New oil has a clean syrupy-looking appearance. It’s been changed recently. If the oil is black, you’ll want to ask when the oil was changed last. So, new oil and black oil is normal. What isn’t normal? Water and oil don’t mix. If the oil has white milky streaks in it, water is getting into the engine. You may not want to purchase a bike with this problem unless you’re ready to tear down the engine. Oil impedes wear on an engine but does not fully prevent it. Normally, unless the oil has been recently changed you may feel a very slight grit when you rub a drop between your thumb and forefinger.
Pro Tip: If you feel or see shiny metal flakes in the oil this is very bad news. This engine is eating itself from the inside out. You do NOT want this bike.
Alright, you’ve looked the bike over carefully and you’re ready to hear it run. Each bike has its own cold start temperament and you will eventually get to know yours. Make sure the fuel petcock is turned to the “on” or “reserve” position. Depending on the bike you may have an electronic choke that requires no manipulation or you may have a manual cable-type choke. If it’s manual, ask the seller to set it at his preferred setting. He’ll be happy to set it for you.
He wants it to want it to start right up for you. Ask him how much throttle he normally gives the bike on startup. If it has an electric starter, use it. Once the engine is running, return the throttle to its normal position. You don’t want to “redline” a cold engine. While the bike is warming up, take the time to notice. Is it running smoothly? Is the engine chugging? (Maybe not enough choke). Look behind you. Is the bike smoking? If your bike is running a fuel/oil mix, (dirt bike) a little smoke is not unusual. If it’s smoking a lot, it could be a fuel/oil ratio mismatch or a timing issue. A street bike should not be smoking. Depending on the color of the smoke, a smoking street bike could mean trouble. Dark smoke and a heavy fuel smell are probably just a fuel/air ration problem and can be adjusted away. Blue smoke is burning oil. You should probably walk away from this bike. White smoke or steam can be coolant in the exhaust which is most likely due to a leaking head gasket (major repair needed).
Pro Tip: Listen to the engine. Do you hear any knocking, rattling, pinging, etc.? It should be smooth and clean sounding. If you happen to own a mechanic’s engine stethoscope then by all means, bring it with you. It’s like what a doctor would use but has a long metal probe on the end rather than that icy cold cup we’ve all gotten to know and love. Most people don’t own one of these but an old friend taught me a simple trick for listening deep into an engine. Bring a wooden dowel rod with you when come to look at the bike. This is also handy for checking the oil as mentioned earlier in this writing. Touch one end of it to the engine and place your ear against the other. Internal sounds will be transmitted through the rod and you’ll be able to hear them from the other end. Place the rod in several locations on the engine and listen carefully. A couple of words of caution. Make sure the rod is long enough so that you don’t lean into a hot engine. Also, if you used the rod to check the oil’s condition earlier, don’t stick the nasty end in your ear!
Check the headlights on both high and low beams. Sit on the bike and run through all the switches including the blinkers, horn, hazard lights, and others to verify they are in working order. Pull the front brake lever and press the rear brake pedal to make sure the brake lights are operable. Check all the gauges for proper function.
Pro Tip: While idling, if the headlight should get dim it is most likely caused by either the idle being set too low, or it could be a weak battery.
Ask for all the service records and receipts for the bike. The thoughtful rider will save all service records. Perhaps the seller is the “do it yourself “type. This is not necessarily a bad thing. One of the best-used motorcycles I ever bought was from an avid club racer/mechanic. The thoughtful “do it your self-er” should have receipts and records of all repairs. We also recommend that you get an official Motorcycle History Report. It’s inexpensive “peace of mind” when buying.
Finally, carefully check the bike’s VIN number and license plate number against the title and make sure they match what’s on the title. The VIN number is usually located on the steering head of the frame. Make sure all the numbers are visible and none have been tampered with.
Check the title to make sure there isn’t a lien holder. If there is they should have signed off their portion. Of course, if the seller doesn’t have the title it’s not advised that you should make the purchase.
Pro Tip: The last thing you want is to buy a bike you can’t register, so avoid Curbstoners. If the bike doesn’t have a current registration or sticker or if it’s registered in another state you should contact the appropriate State Department to determine what the fees might be to register and bring it current.
Finally, once you’ve made your purchase, have your bike inspected by a qualified motorcycle mechanic. The vehicle’s safety should always be your primary concern.
Enjoy Your Ride!
For more tips, news and updates, subscribe to Rider Insider below
